
So I've devised a way to set up the sunshade in an area only about twelve feet wide and twelve feet longer than the depth of the sunshade. I set the four long stakes (the ones that go to the center poles) in their usual place. After I've inserted the center pole spikes through their matching grommet on the sunshade, but before I slip the rope loop on and raise the pole, I thread the center pole spike through the stake loops on the outermost corners on the main part of the sunshade. (Note that these aren't the stake loops at the corner of the "elephant ear" flaps, but the next ones inboard of that along the skirt of the sunshade.) Then I put the guy rope loop over the spike and raise the center pole. If that explanation sounds a bit confusing, here's a picture:
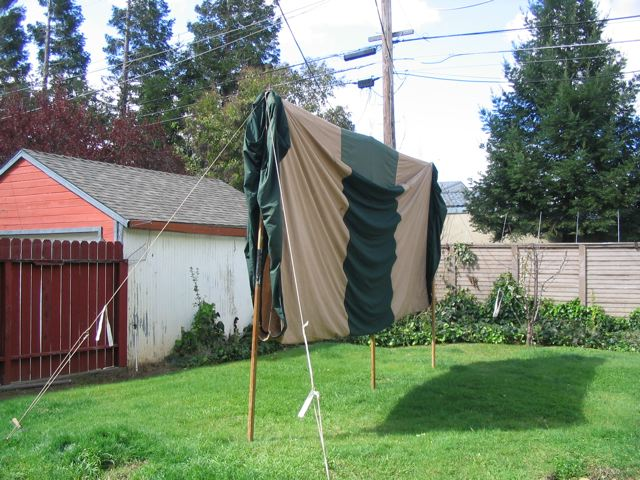 |
|---|
| Figure 1: drying the sunshade with a low-footprint setup |
If your sunshade uses three center poles, you can insert the middle pole to help lift the rain-sodden fabric in the center and help take some of the load off the other two poles. You could also hook the middle stake loops over ths spike of that center pole if you have a stepladder, but I've found that this step isn't really necessary.
There's usually enough air circulation around the fabric to allow it to dry thoroughly. I usually give the flaps a shake to make sure that they're hanging freely and not sticking to the pole or the rest of the fabric.
Don't forget to turn the bag inside out and dry it, too.
When the fabric is dry, you can safely stuff the sunshade back into the bag and store it in the usual way.